How To Make A Balloon Garland
Sean Edwards • January 11, 2025
Step-By-Step Guide to make a super simple, beautiful DIY balloon garland at home.
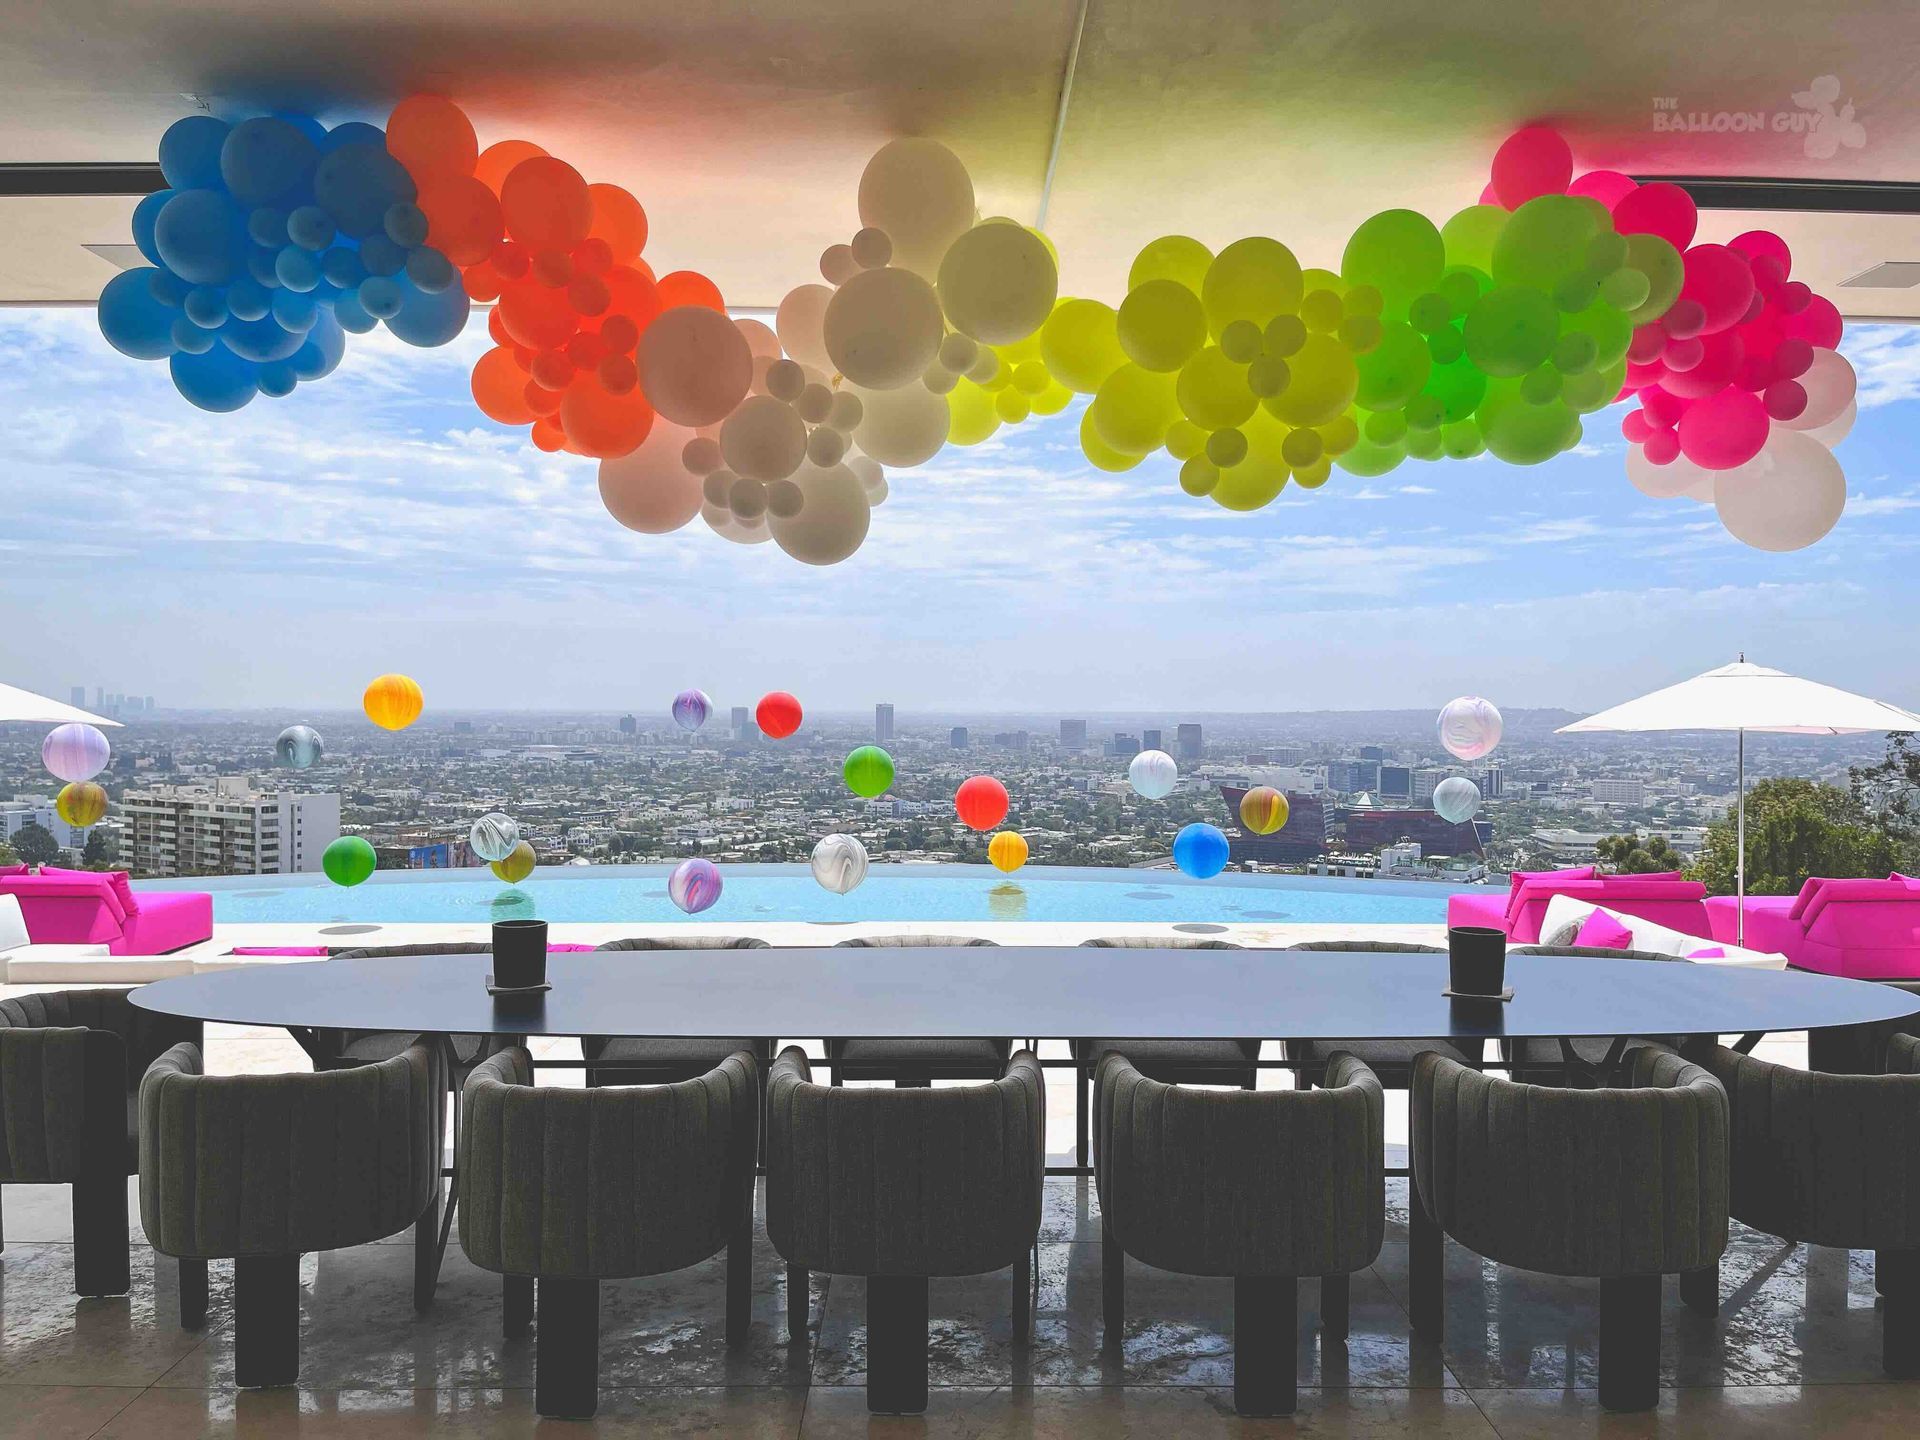
How To Make A Super Easy Balloon Garland For Your Next Party
Materials Needed:
- Balloons in various sizes (5", 11", 16", and 24")
- Electric balloon pump
- 80 lbs monofilament fishing line
- Scissors
- Low-temperature glue gun (optional, for precision placement)
- Command hooks, 3M strips, or other mounting hardware (to hang the garland)
Step-by-Step Instructions:
Step 1: Select Your Color Palette
- Choose 2–4 complementary colors. Mixing shades or adding metallics works beautifully for depth.
Step 2: Inflate Balloons
- Use the electric pump to inflate balloons to varying sizes:
- Some balloons should remain at their full size.
- Others should be under-inflated for a more organic, textured look.
- Pair the balloons into duplets by tying the necks of two balloons together.
Step 3: Build Quads
- Combine sets of two balloons (duplets) into clusters of 4–5 balloons (called quads):
- Twist the necks of two duplets together to create a quad.
- Add another balloon (or two) by twisting their necks into the cluster.
- Aim for a mix of balloon sizes in each cluster for a more natural, asymmetrical appearance.
Step 4: String the Balloons with Fishing Line
- Cut a length of monofilament fishing line (leave extra for hanging later).
- Secure the starting end of the line to a stable object or tie a large knot to anchor the first cluster.
- Place the first balloon cluster against the fishing line.
- Wrap the fishing line once around the center of the cluster (between the necks) to hold it in place.
- Add the next cluster by positioning it snugly against the first and wrapping the fishing line once around its center.
- Continue adding clusters:
- Alternate sizes and colors for a balanced and organic look.
- Pull the fishing line taut but not so tight that it distorts the balloons.
Step 5: Fill in Gaps
- Use smaller balloons (5") to fill gaps between clusters:
Tie or use rubber bands to attach them to existing balloons for a polished look.
Step 6: Hang Your Garland
- Attach Command hooks or other mounting hardware to the desired location.
- Use the excess fishing line at each end of the garland to tie and secure it to the hooks.
Step 7: Final Adjustments
- Step back and check for balance and fullness.
- Rotate or add balloons as needed to refine the look.
Pro Tips:
- Add greenery, florals, or metallic accents to elevate the design.
- For longer garlands, work in sections to make handling easier.
- Keep balloons out of direct sunlight if used outdoors to prevent popping.
- Always under-inflate your balloons to allow for expansion in the sunlight.
- Use brands like Sempertex & Tuftex. Using a better quality balloon will prevent popping,.
With this method, you’ll create a lightweight and visually stunning organic balloon garland for your next party or event!

Party Pop: Your Insider’s Guide to Event Decor & Celebrations
It’s about moments. It’s about emotion. It’s about walking into a room and feeling something special. Over the years, we’ve had the honor of helping celebrate thousands of birthdays, milestones, brand activations, weddings, and once-in-a-lifetime events across Los Angeles and beyond. From intimate gatherings to large-scale corporate experiences, our mission has remained the same: to create joy, beautifully and intentionally. That mission is what led us here. Today, I’m excited to officially introduce Joywell — a new brand born from the heart of The Balloon Guy. Why Joywell? As our work evolved, I noticed something interesting. Clients weren’t just coming to us for balloon décor. They were coming to us because they trusted us to deliver joy — thoughtfully, artfully, and reliably. They wanted: meaningful gifts beautiful presentation moments of surprise and delight something that felt personal, elevated, and memorable Joywell was created to meet that need. It’s an extension of everything we believe in — just expressed in a new way. What Is Joywell? Joywell is a modern gifting brand designed to make giving joyful, effortless, and elevated. From curated balloon arrangements and florals to thoughtful gift pairings, Joywell focuses on beautifully designed moments of connection — whether you’re celebrating a birthday, sending love, marking an achievement, or simply reminding someone they matter. It’s about the feeling someone gets when something unexpected and lovely shows up at their door. How Joywell Connects to The Balloon Guy Joywell isn’t a departure from The Balloon Guy — it’s a natural evolution. The same values guide both brands: Artistry — every detail matters Professionalism — trust is everything Happiness — joy is the goal While The Balloon Guy continues to focus on full-scale balloon décor, installations, and live experiences, Joywell allows us to bring that same sense of wonder into everyday moments. Big celebrations and small joys deserve the same level of care. What’s Next Joywell is just getting started. As the brand grows, our commitment remains the same: to create experiences that feel thoughtful, elevated, and full of heart. We’re excited to continue serving our Balloon Guy clients while also welcoming new customers through Joywell — all connected by a shared love of celebration and beauty. Thank you for being part of this journey. Here’s to more joy, in every form. — Sean Edwards Founder, The Balloon Guy & Joywell
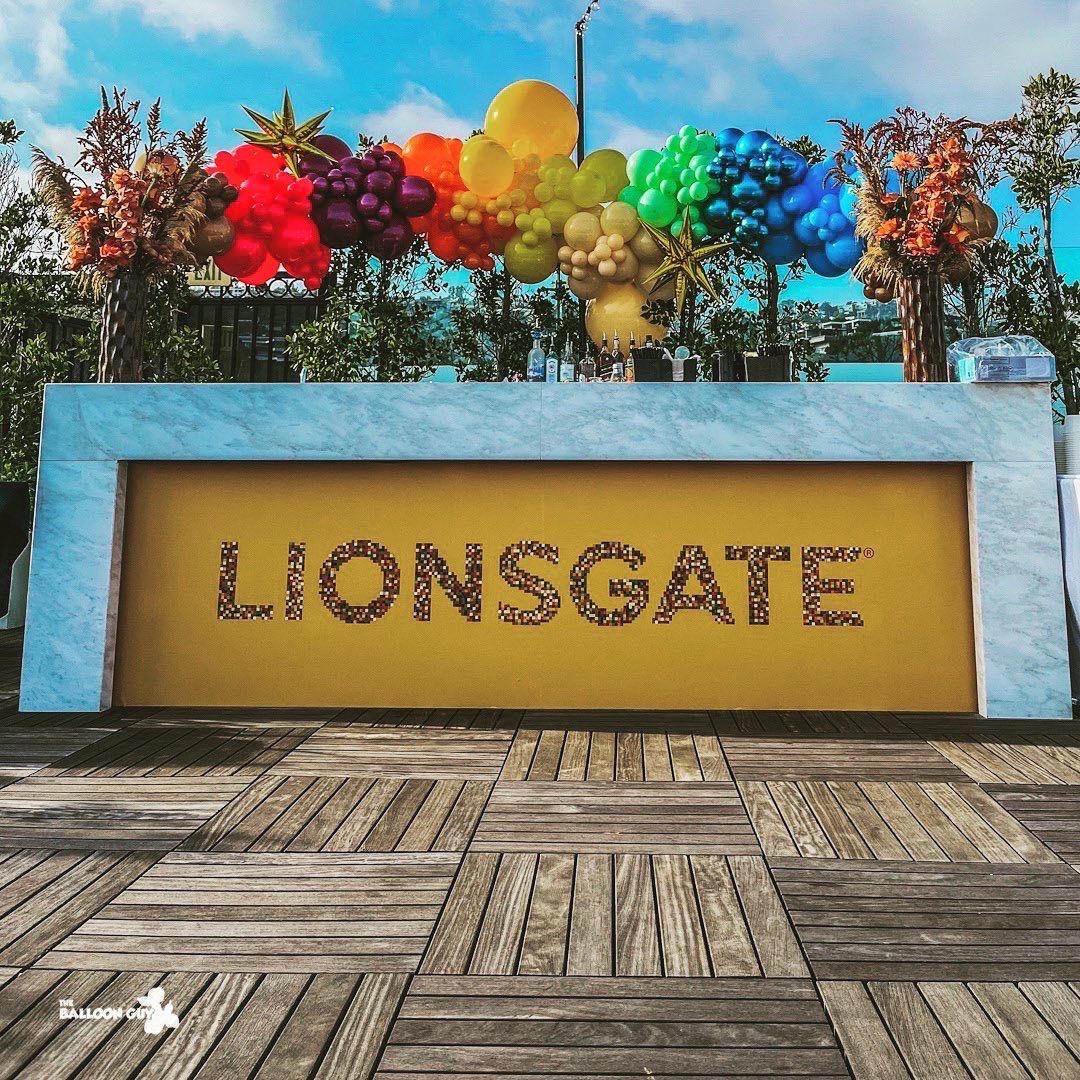
Los Angeles is one of the most competitive markets in the world for brand activations and product launches. From influencer events and retail pop-ups to corporate celebrations and media previews, brands are expected to deliver experiences that feel intentional, elevated, and visually compelling. In this environment, custom balloon decor has become a strategic design tool—not just decoration. When professionally designed and installed, balloon installations help brands define spaces, reinforce identity, and create moments that translate seamlessly from real life to social media. Below are some of the most effective ways brands are using balloon decor to elevate activations and launches across Los Angeles. 1. Statement Installations That Anchor the Event For brand events, first impressions matter. Large-scale balloon installations provide an immediate visual cue that something significant is happening. In Los Angeles, we frequently see brands using: Oversized organic balloon arches at entrances Sculptural balloon backdrops framing logos or signage Installations that highlight key product moments These statement pieces help guide guests through the experience while naturally encouraging photography and social sharing. 2. Brand-Accurate Color Palettes Corporate events require a higher level of precision when it comes to color and tone. Custom balloon decor allows brands to: Match exact brand color standards Create tonal gradients or monochromatic looks Incorporate metallics, neutrals, or soft palettes for luxury campaigns When balloons are treated as a design material—rather than an accent—they integrate seamlessly into the overall brand environment. 3. Balloon Backdrops for Media & Content Creation In Los Angeles, content capture is just as important as the event itself. Balloon backdrops are commonly used to: Frame step-and-repeat areas Support influencer and press photography Create depth and texture for video content Because balloon installations photograph well from multiple angles, they offer flexibility for both planned shoots and organic guest content. 4. Decor That Flows Throughout the Venue Rather than concentrating all decor in one area, many LA-based brand activations opt for installations that move through the space. This might include: Balloon garlands accenting bars or lounges Installations framing product displays Subtle balloon moments connecting multiple rooms This approach creates a cohesive experience and ensures the event feels thoughtfully designed from start to finish. 5. Outdoor Balloon Decor for LA Activations Los Angeles offers unique opportunities for indoor-outdoor events, sidewalk activations, and storefront launches. Professionally installed outdoor balloon decor can: Draw attention from foot traffic Clearly signal a launch or activation Extend the brand experience beyond the venue With proper materials and planning, outdoor balloon installations can be both visually impactful and durable in Southern California conditions. 6. Design That Supports the Brand Story The most effective balloon installations are aligned with the brand’s broader messaging. For corporate clients, balloon decor can be designed to reflect: Campaign themes Product positioning Brand values and tone When decor supports the story rather than competing with it, the result feels intentional and elevated. Why Brands Work With Professional Balloon Installers For brand activations and product launches, execution is everything. Professional balloon installation teams ensure: Clean, precise design Proper scale and placement On-time setup and breakdown A finished look consistent with brand standards This allows internal teams, agencies, and event planners to focus on the guest experience while trusting that the visual elements are handled with care. Final Thoughts In a market like Los Angeles, successful brand activations require more than good ideas—they require thoughtful execution. Custom balloon decor offers brands a flexible, visually impactful way to enhance events while creating content that lives well beyond the day itself. When designed with intention, balloon installations become part of the brand experience—not just the background.
Find how balloon decor develops sports marketing and fan interaction, creating memorable experiences and energizing stadiums for maximum fan activation.